Gluten-Free Whole Grain Country Bread
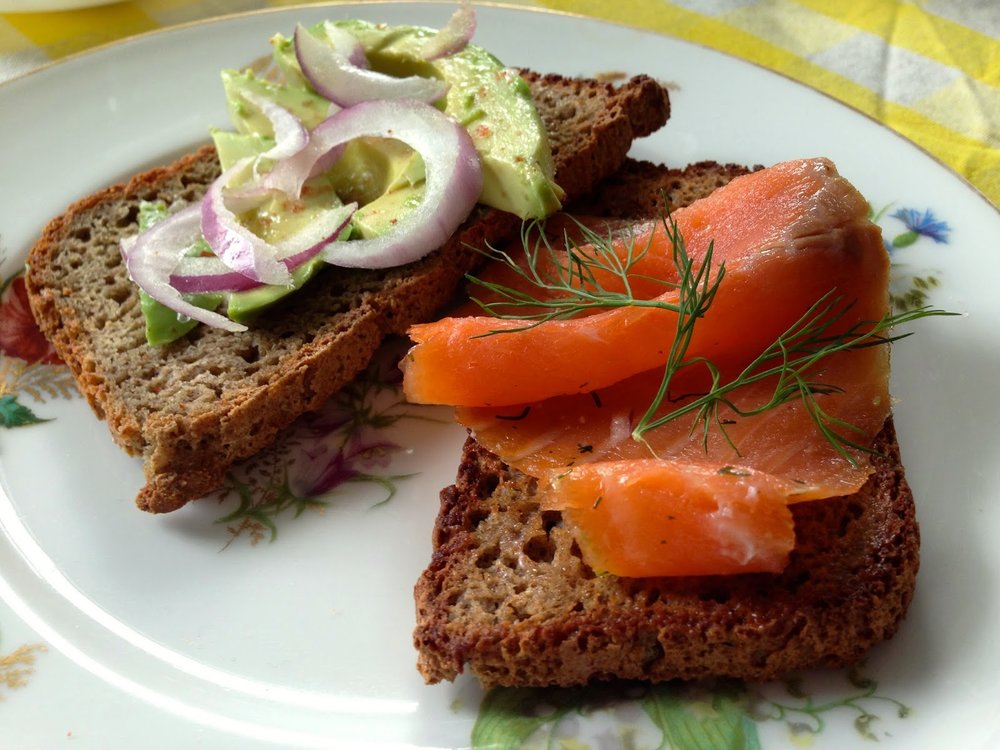
Every time I post a g-free bread recipe, I wax poetic about good wheat bread and how much I miss it. My absolute favorite breads are Russian and Polish country ryes, some lighter ("Grandma's Bread") some darker ("Farmer's Bread") and made with a mix of whole wheat and rye flours, sourdough starter, salt, and water. They're more dense than a Western European bread, but with a moist, tender texture that makes them light enough for a sandwich and perfect for morning toast. But my favorite thing about them is how they taste: They are sour and earthy, not simply flavorless, cardboard vehicles for meats and cheeses, but really unique flavors all their own.
All this is well and good, and strictly off limits for me, and presumably you, too, if you're reading this blog. Most passable commercial g-free breads that I've found are more in the vein of a white sandwich bread.
Udi's has done a great job with texture, and the flavor is light and kid-friendly. But what if we want a more grown-up tasting bread?
This is my first pass at a g-free, dairy-free, whole grain yeast bread that's packed with protein and nutrition and full of flavor.
It's moist, and it holds together better than most g-free breads. The crust is thick, crunchy, and delicious. It's also quite easy to make. (
I used King Arthur's Gluten-Free Whole-Grain Bread recipe as a proportional jumping off point, but as you'll see, I made so many changes that my version is quite different.) I'm really happy with this bread!
Note: I strongly recommend using a digital scale for bread making. It's more accurate and less messy than measuring cups. I use grams rather than ounces because the measurements are smaller, so more accurate and easier to calculate. (Also a habit from reading French cookbooks!) Most digital scales will switch back and forth between grams and ounces.
Another note: Yes, there are a lot of eggs in this recipe. Eggs = structure, rise, tenderness, flavor, and protein..
Last note: You'll notice that, unlike wheat bread recipes, there's only one rise here. With wheat bread, the gases produced by the yeast strain against the elastic bands of gluten, which produces the fabulous, complex texture we love about wheat bread. Here, we're relying on eggs and starches and xantham gum for structure, but they're not nearly as strong as stretchy as gluten, and so we don't need a second rise to develop texture. We want to get as much lift as we can out of the first rise, and get than sucker in the oven!
For one loaf, you will need:
- 2 cups King Arthur Gluten-Free Flour Blend (332g)
- 1/2 cup millet flour (64g)
- 1/4 cup buckwheat flour (32g)
- 1/4 cup teff flour (42g)
- 1/4 cup raw milled flax seed (21g) You can buy it already ground, but it's cheaper and fresher to buy the seeds whole and grind them yourself in a good blender or spice/coffee grinder.
- 2 teaspoons instant yeast (One 1/4 ounce envelope of "Rapid Rise" Yeast.)
- 1 1/2 teaspoons baking powder
- 1 1/4 teaspoons salt
- 1 1/4 teaspoons xantham gum
- 1 cup water
- 3 large egg whites
- 3 large eggs
- 2 tablespoons vegetable oil (I used grape seed oil with excellent results.)
- 2 tablespoons honey (Tip: Measure the honey after the vegetable oil, using the same spoon. The honey will slip out with no mess or sticky fingers.)
Directions:
Whisk all the dry ingredients in large bowl until well-integrated. Beat all the wet ingredients in a small bowl until smooth. Make a well in the center of the dry ingredients and pour in the wet. Mix with a hand or stand mixer for about 3 minutes on high. (Start on low power to incorporate, then increase speed.)
Scrape the dough (yes, it's quite wet, more like a
quick bread
batter
than
a wheat bread dough) into a well-greased 5x9 inch glass loaf pan. (Glass is an even, gentle heat conductor, and you won't risk hot spots and burning like you might with a metal pan.) Cover with greased plastic wrap and let sit in warm place for approximately 1 hour, until the dough rises about an inch above the top of the pan. It may start to spill over; if so, just gently
scoop the dough back into the center of the pan.
Bake in a preheated 375 degree oven for about 45 minutes, until the crust is crispy and brown, the internal temperature reaches about 202 degrees, and a knife put through the center of the loaf comes out
almost
clean, just barely sticky.
(If you want to mix the
dough
ahead and bake a few hours later, you need to slow down the rise. Put the covered loaf pan in the fridge until a
couple
of hours before you're ready to bake it. Then, let it sit in a warm place on the counter to finish its rise.
Once the bread is baked, immediately turn it out onto a cooling rack and let it cool for a good 30 minutes before cutting. (It will continue to set up as a cools - it you cut into it while it's steamy and warm, you'll be greeted with a gummy loaf.)
Once it's cool, cut it into 1/2 inch slices and and store it, well-wrapped, in the freezer until you're ready to eat it. I recommend microwaving it for 15-20 seconds a slice for warm, soft, just-baked-tasting bread. If you like it toasted, microwave first for best results.